This is a continuation, the First part is Here, a complete list is available under "Ham Radio Master links" on the sidebar.
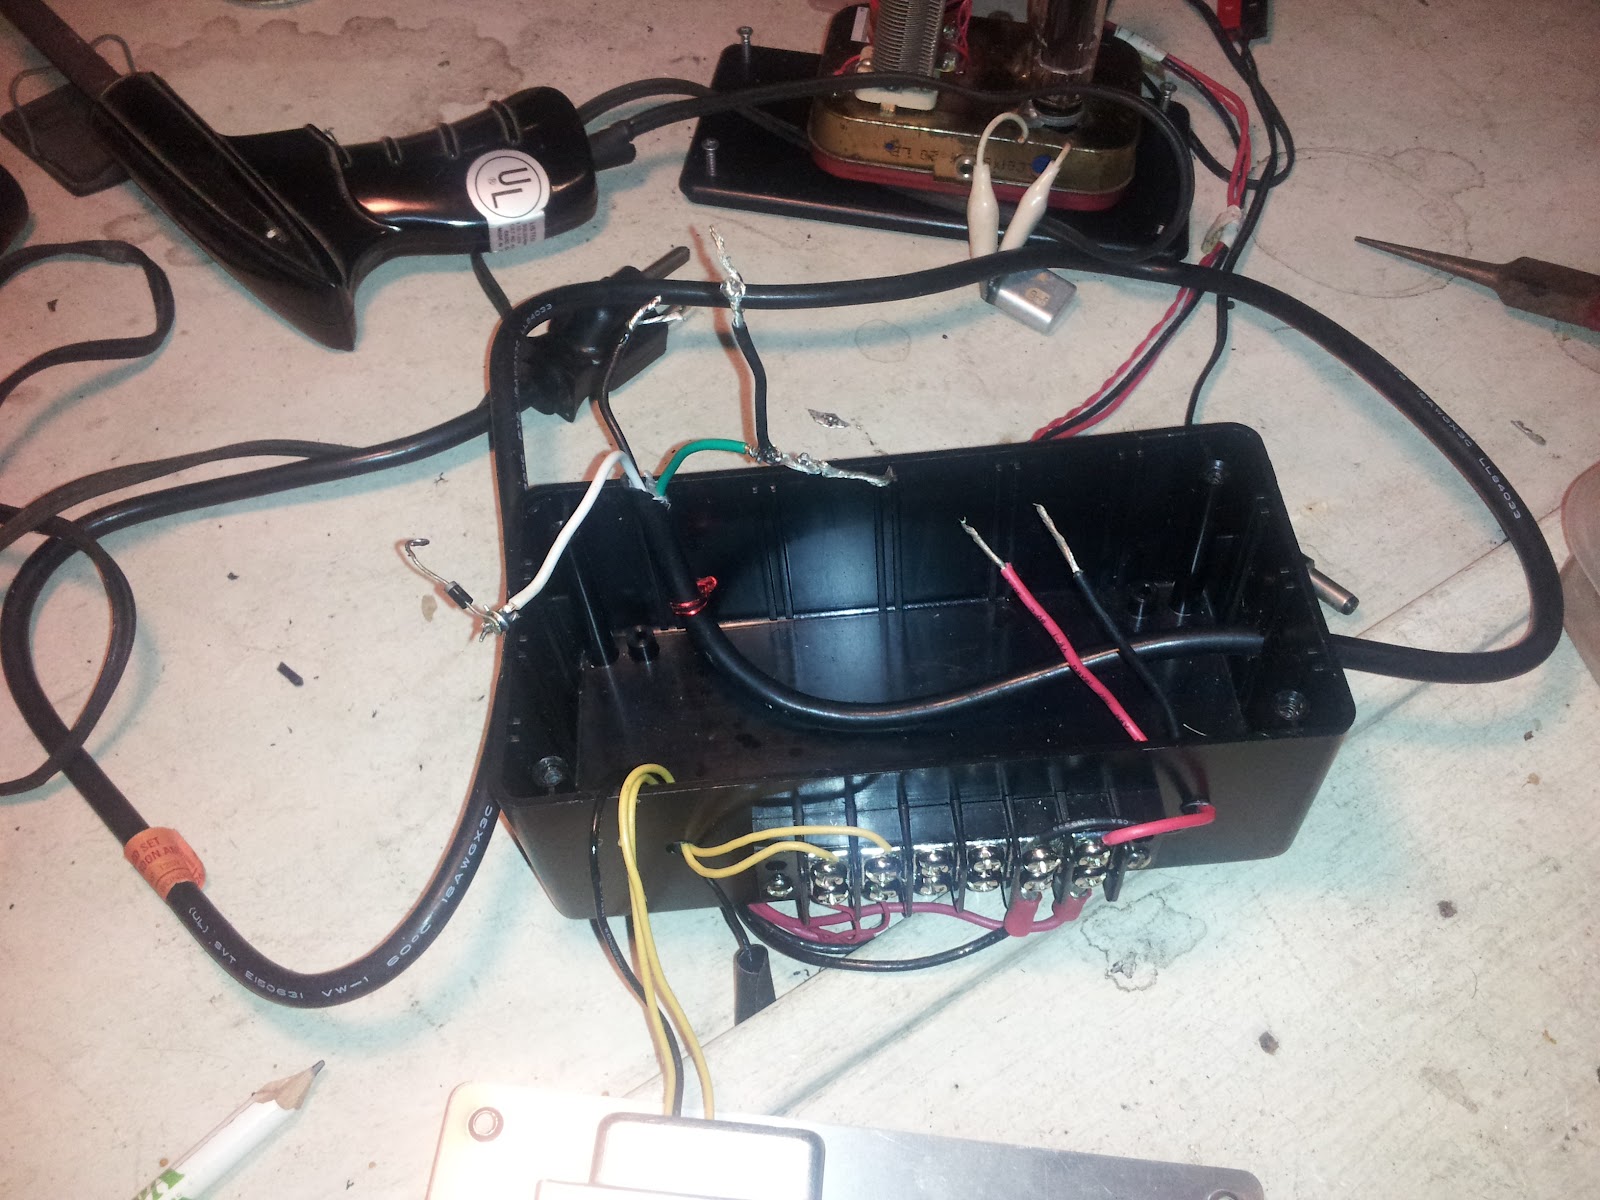
I decided to open the power supply up, and clean up some circuitry. I wanted to make sure that things stayed put once I was ready to QRV. Here's how things looked before getting them all put together.

and here's the transmitter:
I secured the top to the the lid using some ultra heavy duty fastener called dual lock. I wanted a rock solid mount, and I think I got it!
I have two other plans for the transmitter that I haven't decided if I'm going to do yet or not. First, I'm thinking of replacing the clips for the crystal. I'm not really satisfied with how they connect but they are protected. Second, I'm thinking of breaking the rig down, and redoing the chassis all together. The lil' Altoids tin it's on now is showing its ten years of age.

if you look closely at the power cord, it has a piece of heavy gauge magnet wire wrapped around it, this is to prevent me from accidentally pulling the cord out of the power supply, placing stress on the solder connections, and generally increasing the potential for fail.
Now for a demonstration of the awesome power of hollow state:
seriously on the powerbuss connection though.
Originally, in the interest of using things over and making due, I had hooked up connections with some spare wire I had laying around that at one point in time was part of a microwave. I noticed when I was hooking things up that this wire was silverish and didn't take solder well. As I remember there was no solder for power buss lines in the microwave, it used crimped terminal connections. hmmmm, probably is made from something from the lowest bidder. Fortunately, I also had some real buss wire laying around, so I replace unknown material with copper.
More copper means less power wasted heating a wire.
Here's how everything looks set up and ready to play:
no QSO yet. Will announce on twitter, QRP-L, SKCC facebook group, and other places when I get QRV.
Continue on to Chapter 5: "Ecstasy and Agony"
73!
No comments:
Post a Comment